 07-30-2014, 03:41 PM
|
#16 | |

Join Date: May 2014
Location: Vancouver Island BC
Posts: 264
|
Quote:
And paint it Wife wants a nicer bike now after seeing mine and our daughters lol She's still learning a clutch bike so I think this ones perfect for learning Maybe she'll like it better painted to her taste and a new seat cover Dave |
|

|
|
07-30-2014, 04:25 PM
|
#17 |

Join Date: Mar 2008
Posts: 2,436
|
Fill it up works in past day (pure gas) ONLY.
--- 1.Acid or Electrolysis to clean 2.Coat it w/ POR-15 http://www.amazon.com/POR-15-FUEL-TA...qid=1406750479 --- Cheap chinese solution: Treat it w/ ready made http://en.wikipedia.org/wiki/Phospha...ersion_coating (Zinc/ Normal temperature type) liquid that sold at chemical shop. http://forum.jorsindo.com/thread-2436574-1-1.html | http://www.moto8.com/thread-126846-1-1.html
__________________
Last edited by humanbeing; 07-30-2014 at 07:33 PM. |
|
|
|
07-30-2014, 11:03 PM
|
#18 |
|
Join Date: May 2014
Location: Vancouver Island BC
Posts: 264
|
A couple more pictures to make the thread a little more interesting.
The china carb I bought for it Had to ad 2 extra bends to the choke lever to clear frame. But works awesome now. 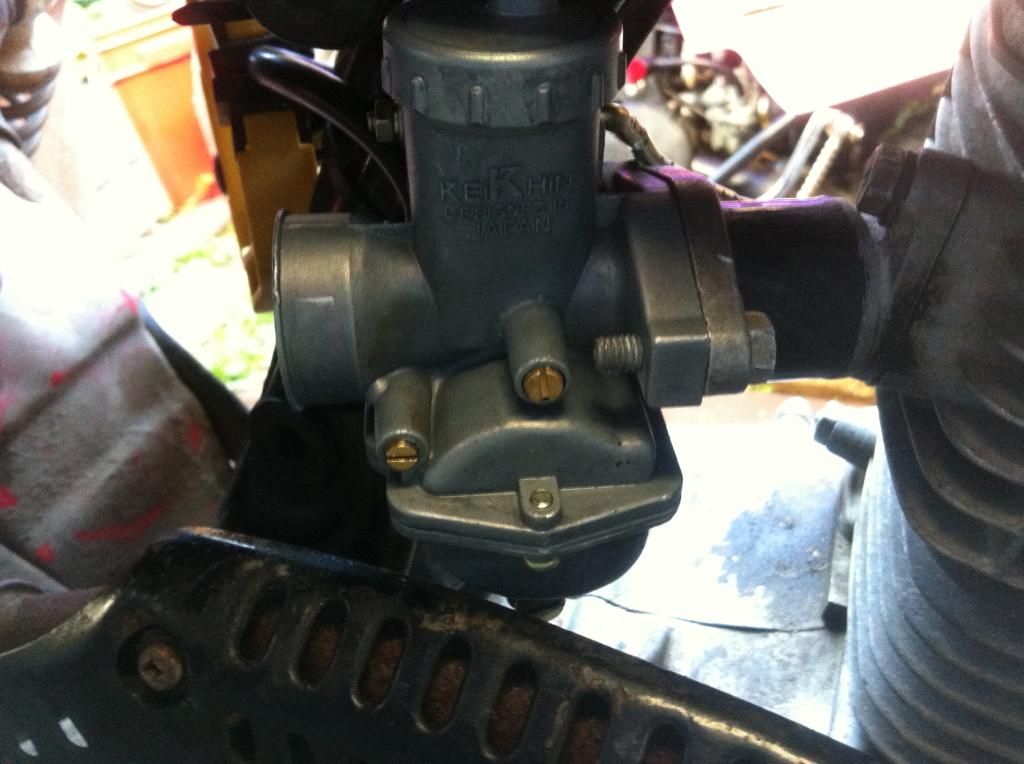 Picture of the front end all cleaned up.  I ordered a new petcock for it. It's not sealing completely anymore. Rust going through it at first must of killed it http://www.ebay.com/itm/271268429437 It's a functional work in progress. There's lots I want to do to this but I have a limited budget so sometimes things take a while. Once air filter is here I'll get some better overal pics Dave |
|
|
|
08-01-2014, 11:51 PM
|
#19 |
|
Join Date: May 2014
Location: Vancouver Island BC
Posts: 264
|
Air filter arrived
I love these filters. I've got quite the handful of stickers out of them now 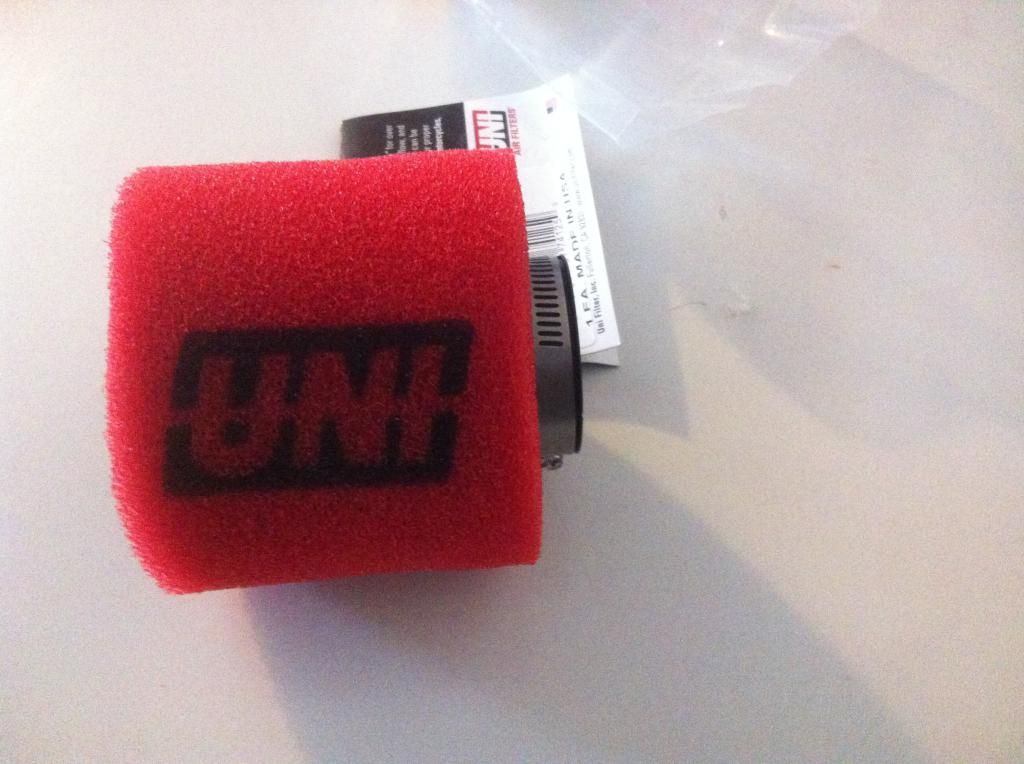 Installed on bike 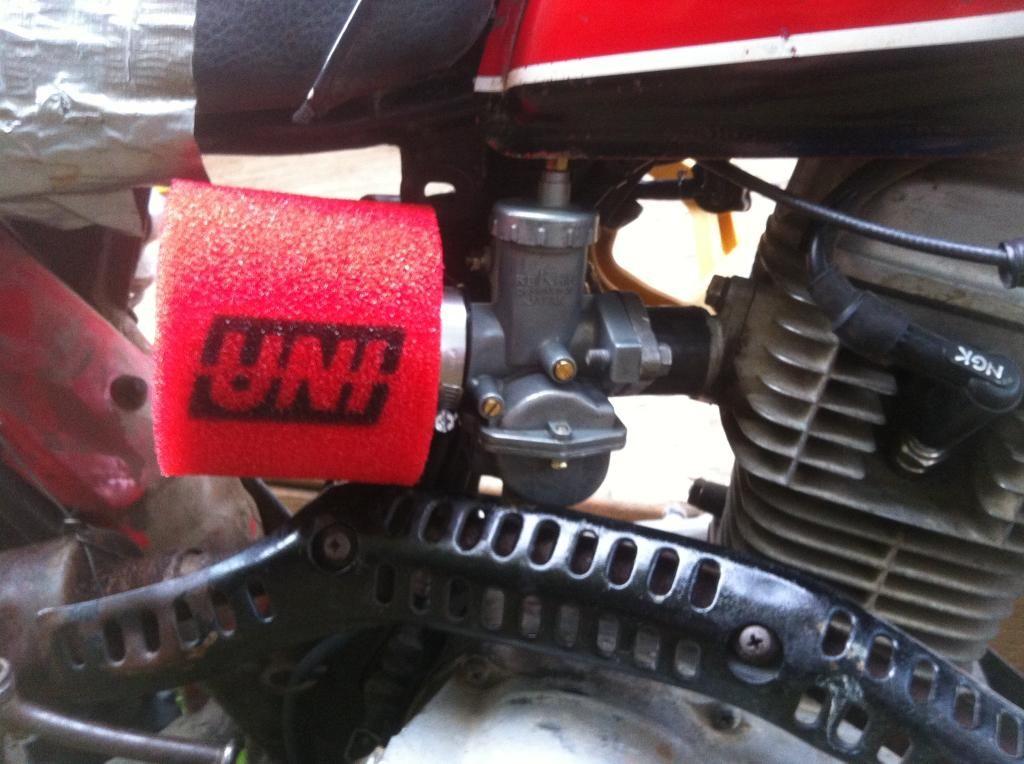 Fits perfect I tryed using one that was 1 1/2 ID in the start. No go. Just ended up tearing So I ordered this one 1 1/4 Here's a couple other pics of the bike. The "custom" 1 wire wiring job The condencer is behind the fuel filter self tapered to the frame I tryed it without the condencer at first but it ran like garbage 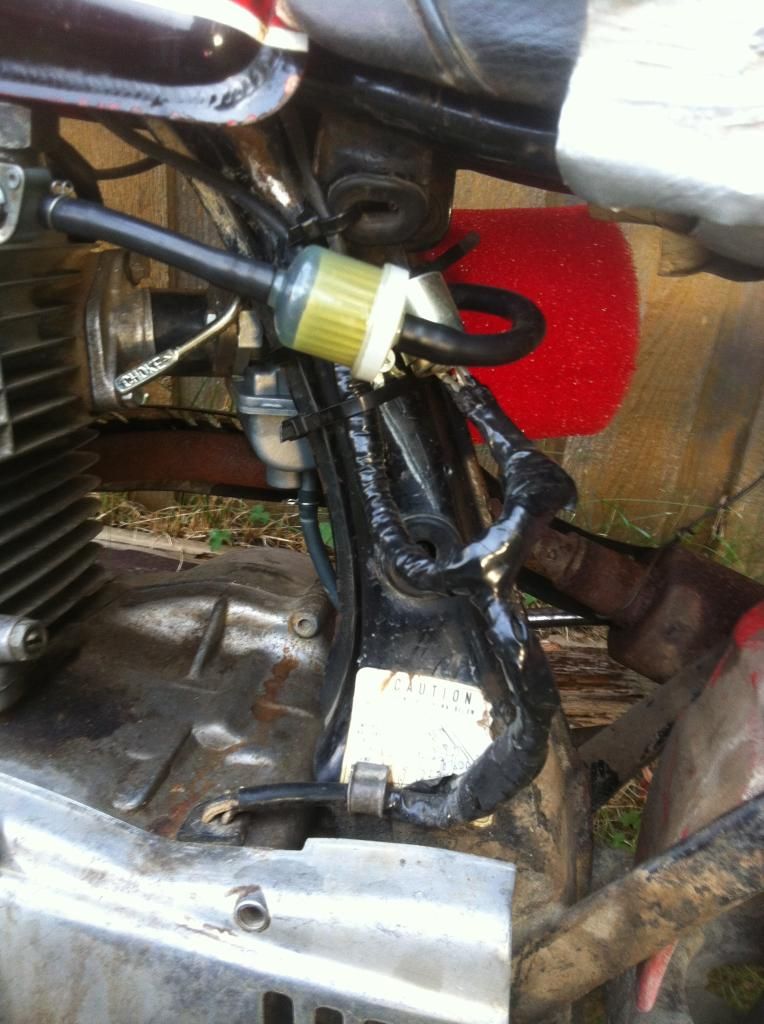 Pic from rear 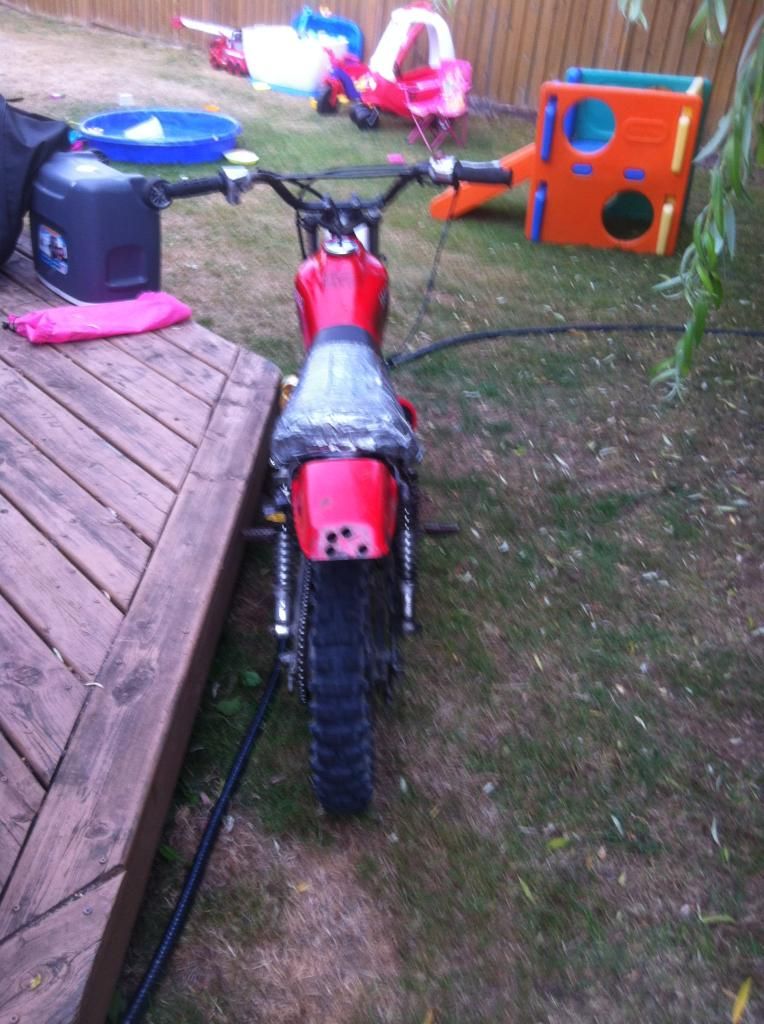 And a couple side shots 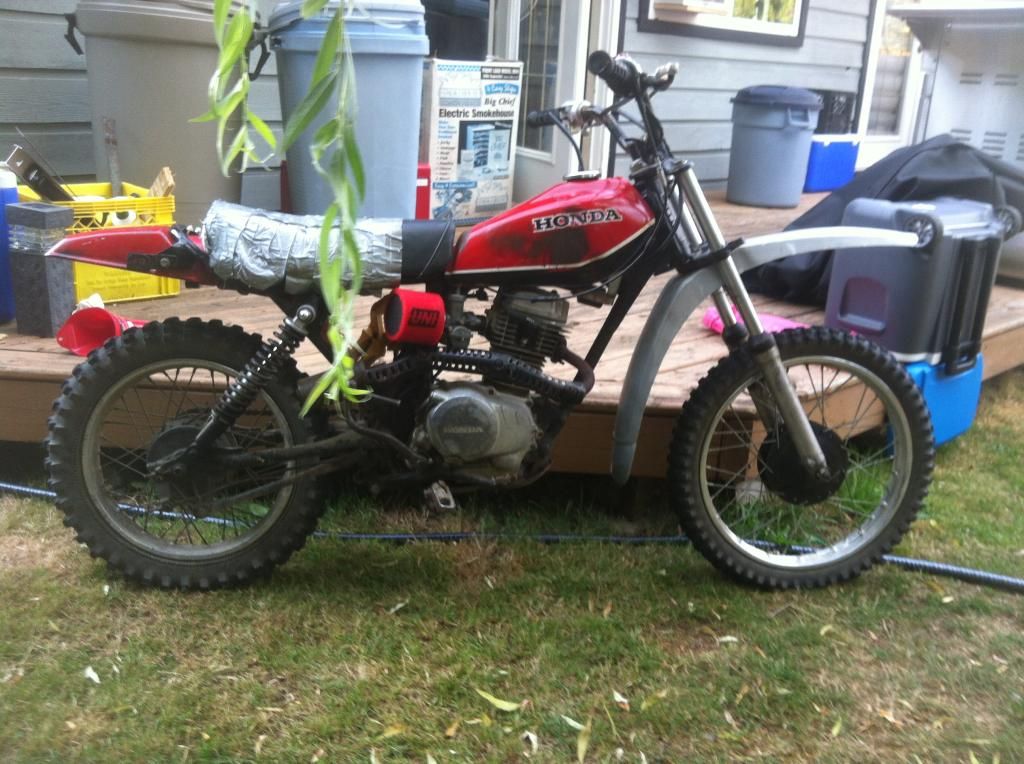 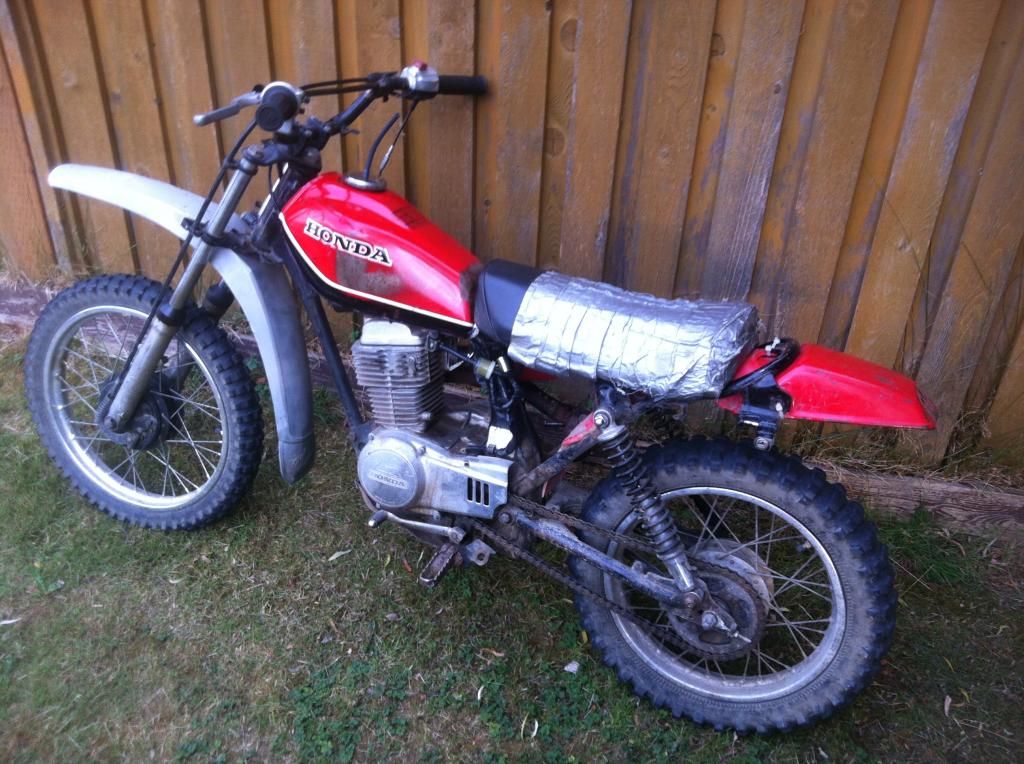 I also changed the oil on this bike. Was loooonnngggg overdue That's all for now Dave |
|
|
|
08-02-2014, 12:59 AM
|
#20 |

Join Date: Mar 2009
Location: Sardis, BC, Canada
Posts: 25,977
|
If you'd like a less expensive option for next time, this is my favourite: Pod Filter It has a really decent core that is well bonded to the rubber neck, and it has the typical coarse filter on the outside. Can't beat the price.
Is the seat pan plastic or metal? It would be handy to find a cheap kickstand. If I had a spare, I'd send you one.
__________________
Weldangrind "I figure I'm well-prepared for coping with a bike that comes from the factory with unresolved issues and that rewards the self-reliant owner." - Buccaneer |
|
|
|
08-02-2014, 01:08 AM
|
#21 | |
|
Join Date: May 2014
Location: Vancouver Island BC
Posts: 264
|
Quote:
Added to watch list for future reference Metal seat pan. I wish it was plastic I have this in my eBay watch list http://www.ebay.com/itm/280792490026 Just hessatant to pull the trigger and buy it lol I'm half tempted to buy material and try myself. But for 35 bucks it should fit perfect. I'm half tempted to make a kickstand for it. Would defanatly make my life easier. It's constantly falling over whenever we go riding. I usually lean it against my truck. Then forget about it and start hopping in and out of the truck. I don't think it would be to hard to make one. I'll just have to source a spring for it Dave |
|
|
|
|
08-02-2014, 03:13 AM
|
#22 |

Join Date: Jul 2008
Location: Idaho
Posts: 25,054
|
You're making good progress.
 That is a very cool 'project bike.' That is a very cool 'project bike.' 
__________________
Spud "Never argue with an idiot. He will drag you down to his level, and beat you with experience."  Mark Twain Mark Twain2015 Zongshen ZS250GY-3 (RX3) 2006 Zongshen ZS200GY-2 (Sierra 200) 2005 Honda XR650L 2004 Honda CRF250X 1998 Kawasaki KDX220 Mods made to my Zongshen ZS200GY-2: http://www.chinariders.net/showthread.php?t=6894 |
|
|
|
08-02-2014, 12:37 PM
|
#23 | |
|
Join Date: Mar 2009
Location: Sardis, BC, Canada
Posts: 25,977
|
Quote:
The formed seat covers are sure nice for a resto look, but you're not going for that. Head to Fabricland in Duncan and see if they have Daytona vinyl in stock. I bought enough red Daytona to cover two seats for less than $10, and it's UV-rated for outdoor use. Good stuff. It will be a little tough to cover the metal seat pan, but it can still be done. In addition to the punched metal triangles, you can also use short sheetmetal screws, since the foam will never compress enough to poke someone in the bum. Here's an XR100 kickstand and pegs for cheap: http://www.ebay.com/itm/XR100R-Footp...727ecd&vxp=mtr
__________________
Weldangrind "I figure I'm well-prepared for coping with a bike that comes from the factory with unresolved issues and that rewards the self-reliant owner." - Buccaneer |
|
|
|
|
08-03-2014, 12:30 AM
|
#24 | |
|
Join Date: May 2014
Location: Vancouver Island BC
Posts: 264
|
Quote:
25 bucks shipping puts that stand at 50 bucks if I go with the "buy now" I'm going to keeps cowering eBay for now Until I look at it again. I think I can make one though lol We'll just have to wait and see Dave |
|
|
|
|
08-03-2014, 02:52 AM
|
#25 |
|
Join Date: Mar 2009
Location: Sardis, BC, Canada
Posts: 25,977
|
Do you ever get to the Lower Mainland? If so, you could have the part shipped to Blaine or Sumas (I get stuff shipped to Sumas a few times a month) and pick it up for $3.00. That will bring the shipping cost down significantly.
I think I found a spring that will work for you. Want to PM a mailing address to me? The spring isn't great, but it'll work.
__________________
Weldangrind "I figure I'm well-prepared for coping with a bike that comes from the factory with unresolved issues and that rewards the self-reliant owner." - Buccaneer |
|
|
|
08-03-2014, 05:08 AM
|
#26 | |
|
Join Date: May 2014
Location: Vancouver Island BC
Posts: 264
|
Quote:
Dave |
|
|
|
|
08-11-2014, 10:50 PM
|
#27 |
|
Join Date: May 2014
Location: Vancouver Island BC
Posts: 264
|
The spring has arrived
Weldangrind you've come through again !! This is exactly what I had in mind. 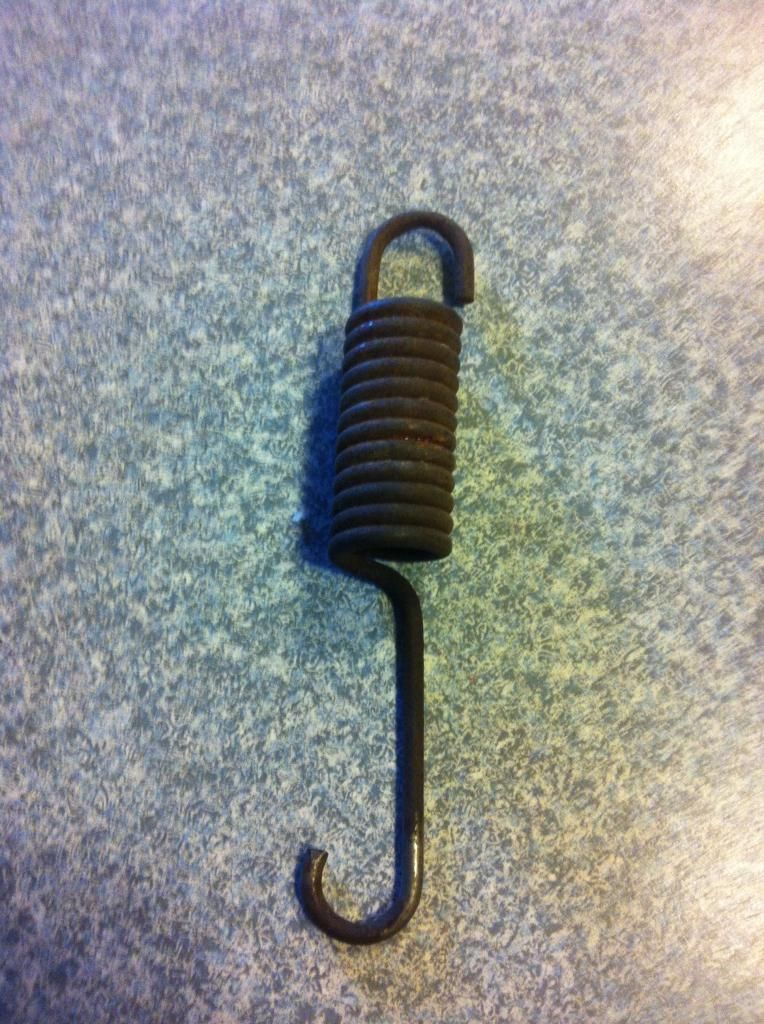 Going to try and find some material for the kick stand at work / the sheds at home. I'll keep you guys posted. Not sure exactly what progress will be like. But I have a vision lol Thanks Dave |
|
|
|
08-12-2014, 05:35 PM
|
#28 |
|
Join Date: Mar 2009
Location: Sardis, BC, Canada
Posts: 25,977
|
I'm looking forward to following your project. Glad to hear the spring finally arrived.
__________________
Weldangrind "I figure I'm well-prepared for coping with a bike that comes from the factory with unresolved issues and that rewards the self-reliant owner." - Buccaneer |
|
|
|
08-13-2014, 09:59 PM
|
#30 |
|
Join Date: May 2014
Location: Vancouver Island BC
Posts: 264
|
Freebie XR80 kickstand version 1
I have a feeling I will be redesigning this thing lol as it's kinda a butcher job But here is a mock 1st attempt. I was to lazy to drag out welder. You will see  Found a length of stainless in the shed. Only usable piece I could find 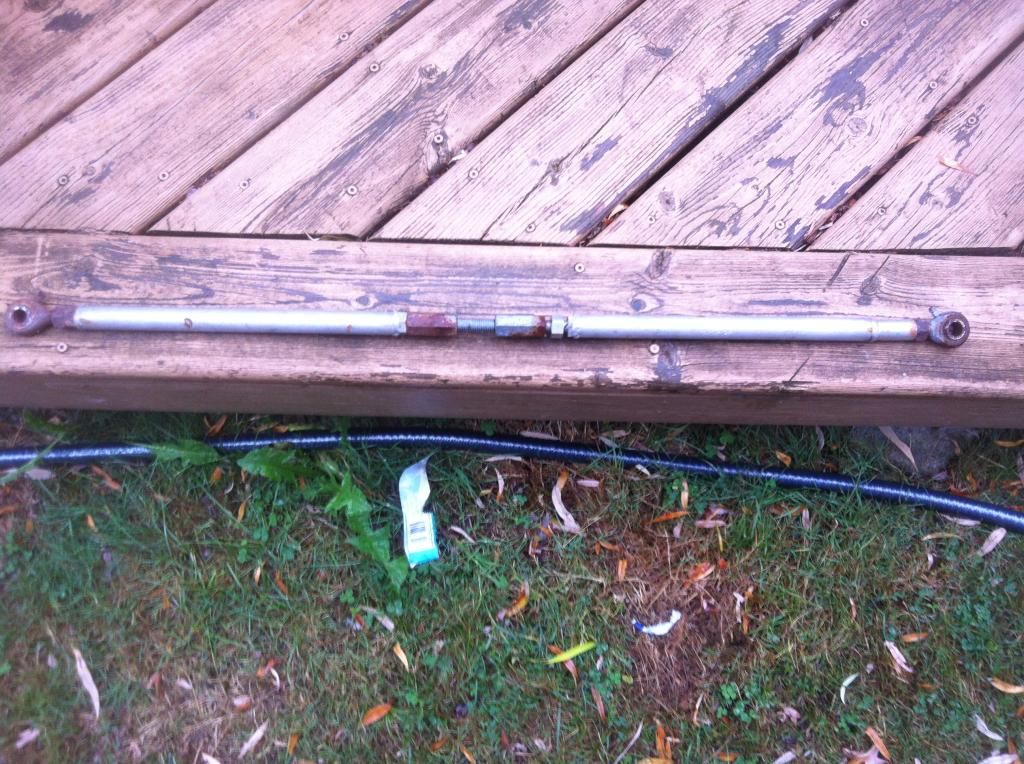 I cut a manageable piece off 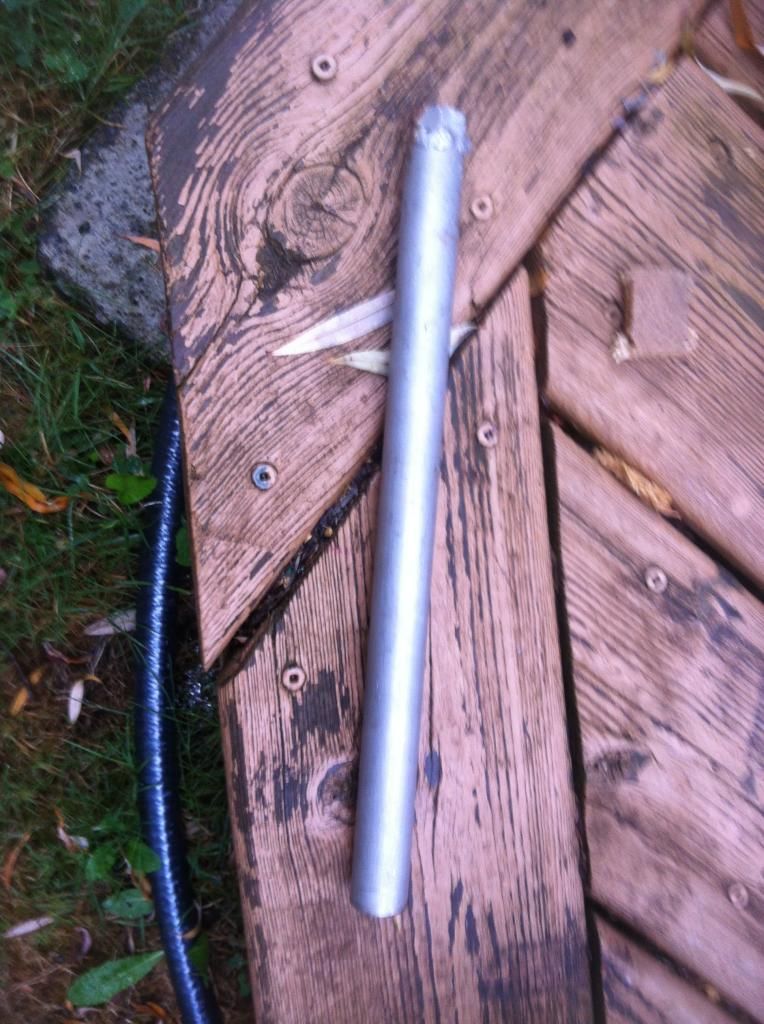 Then I created the "hinge" end Drilled a hole 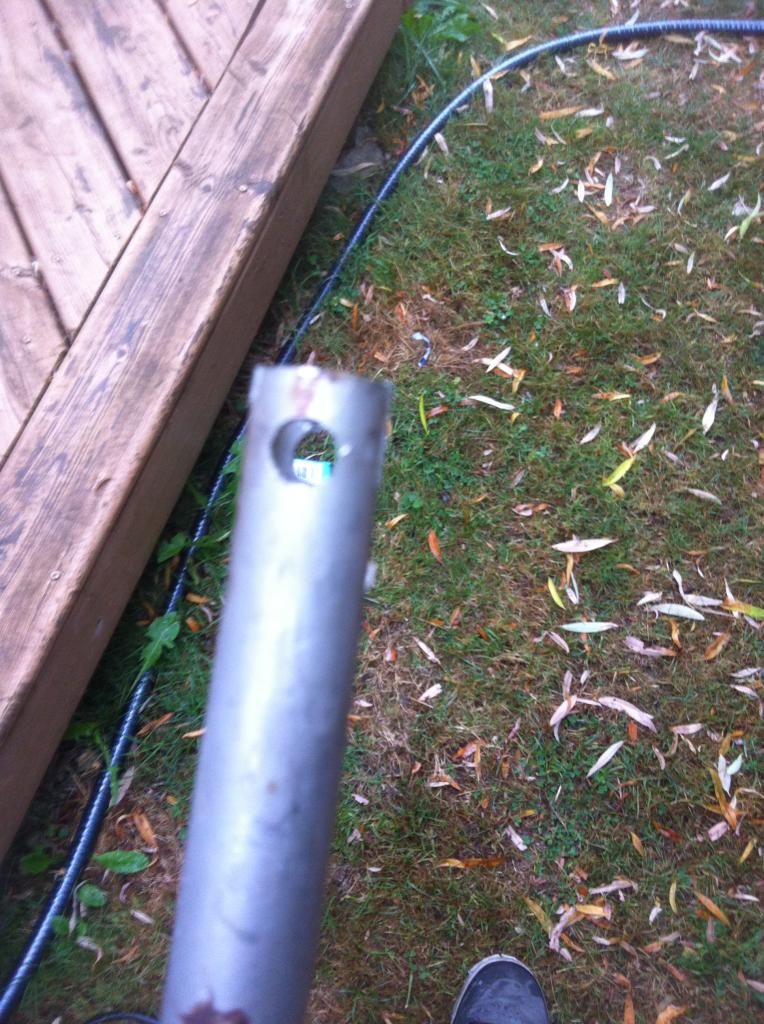 Then notched the end out to go over the factory mount 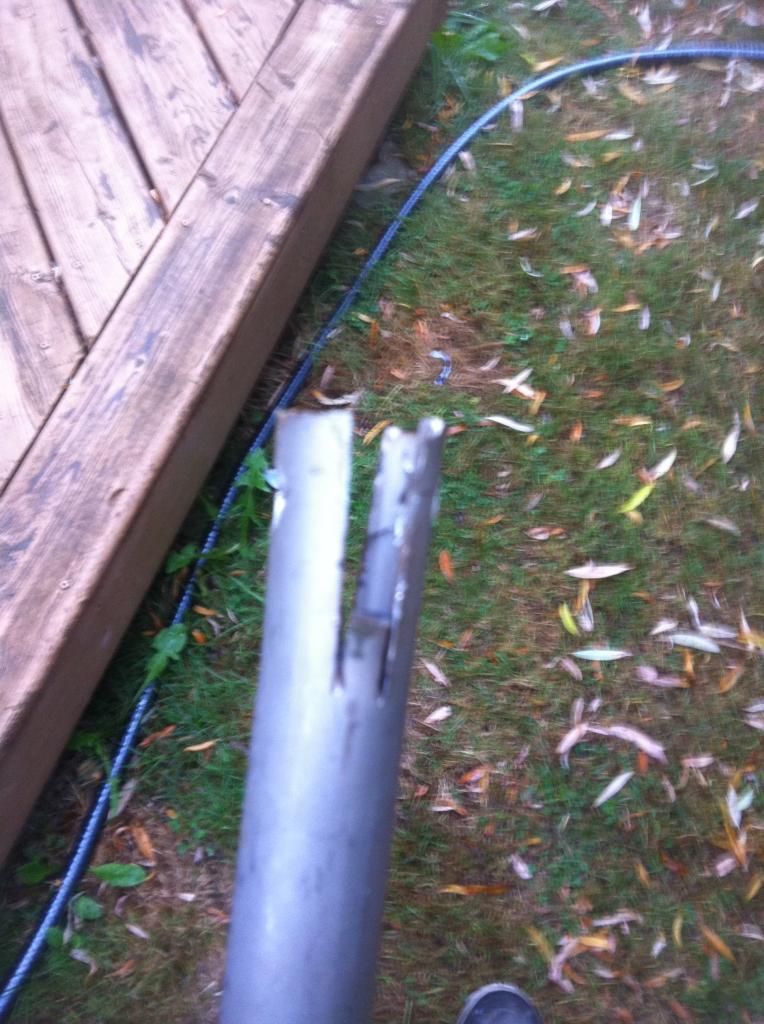 I drilled a smaller hole slightly longer then the spring. From the original spring mount Here's where I was to lazy to weld I used a bolt and 2 nuts to creat the second spring tab 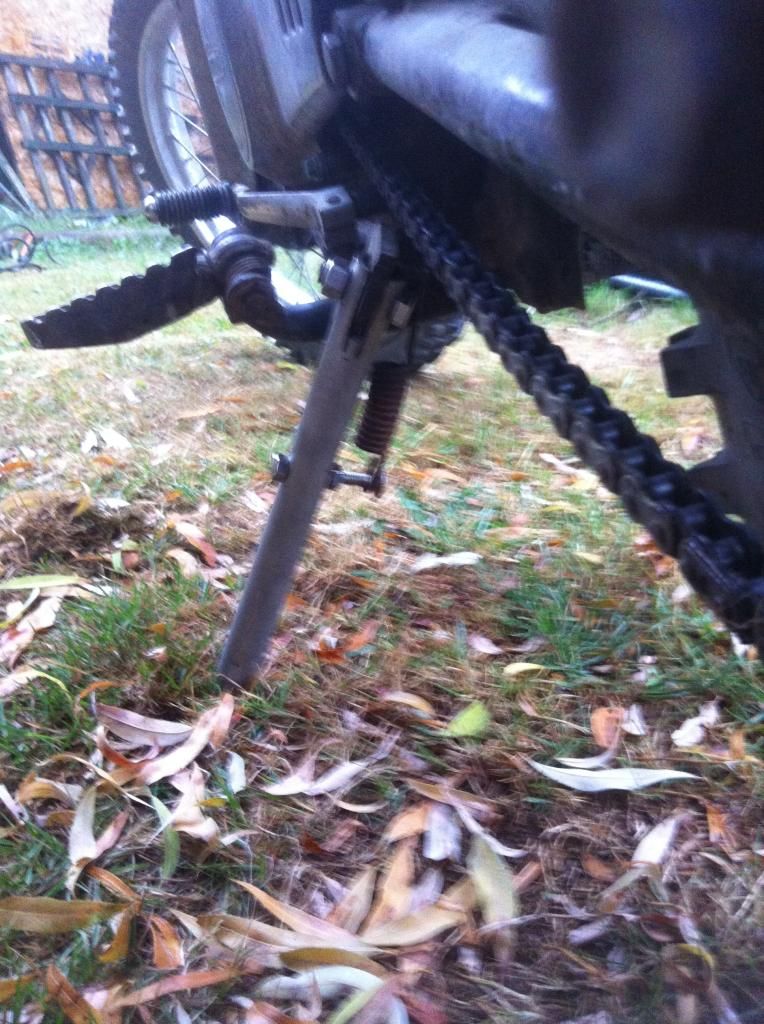 Moving it through its motion 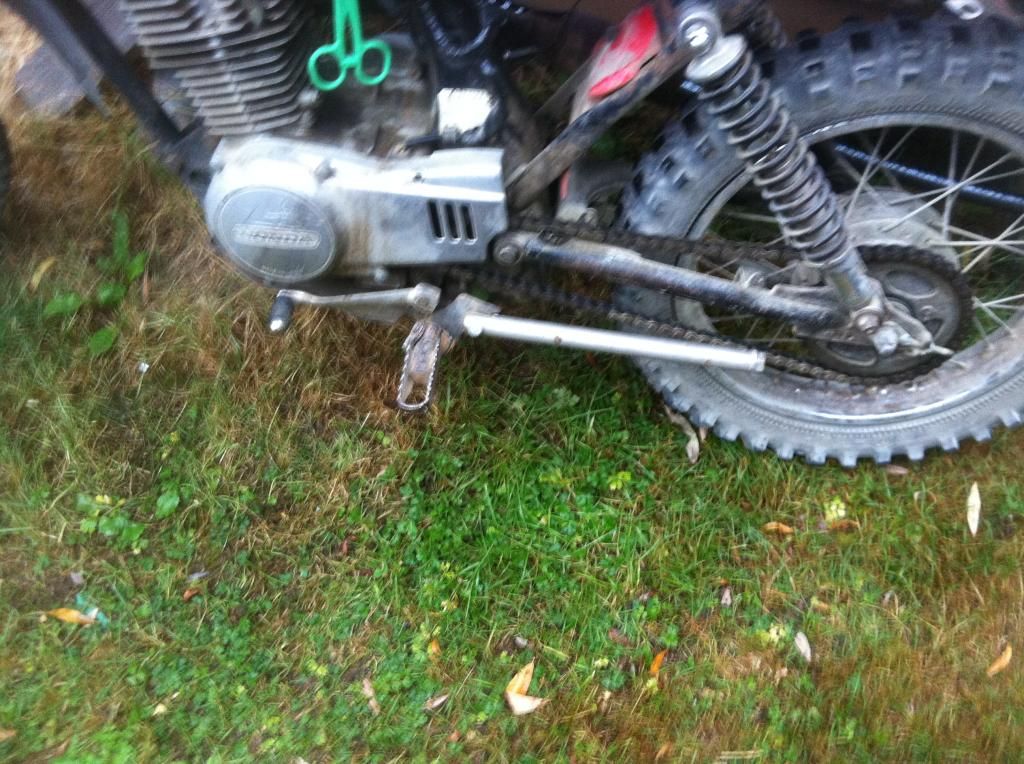 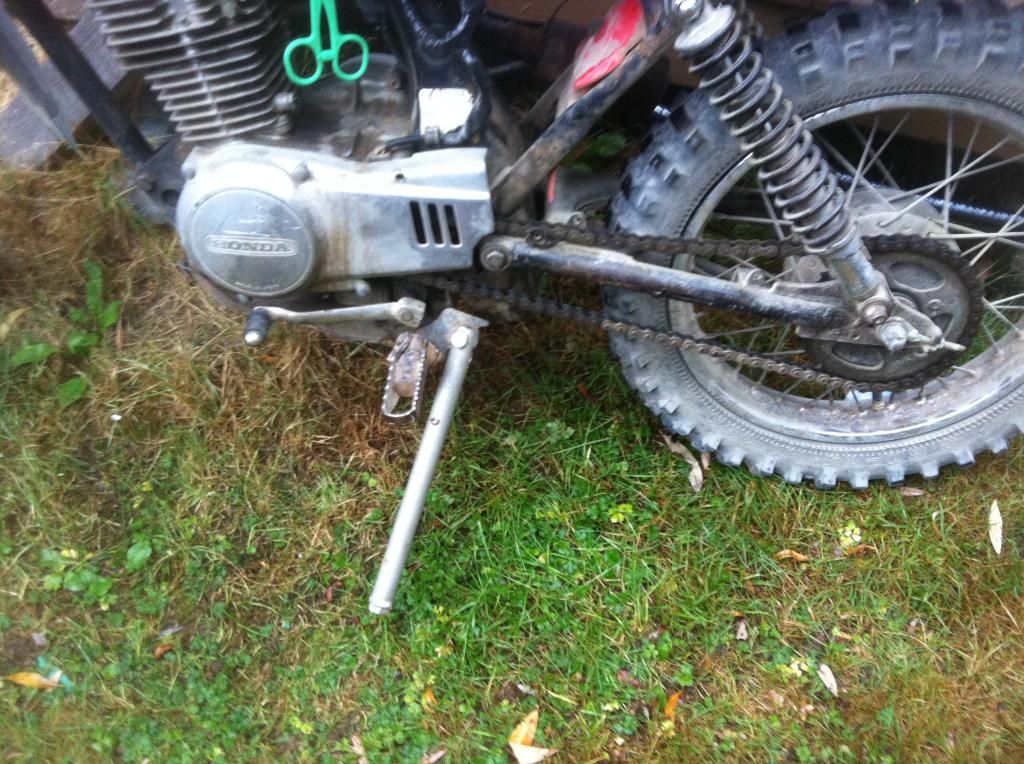 I then cut it to length. Have no way of explaining how I got the length. Just a guess lol Here it is on the stand 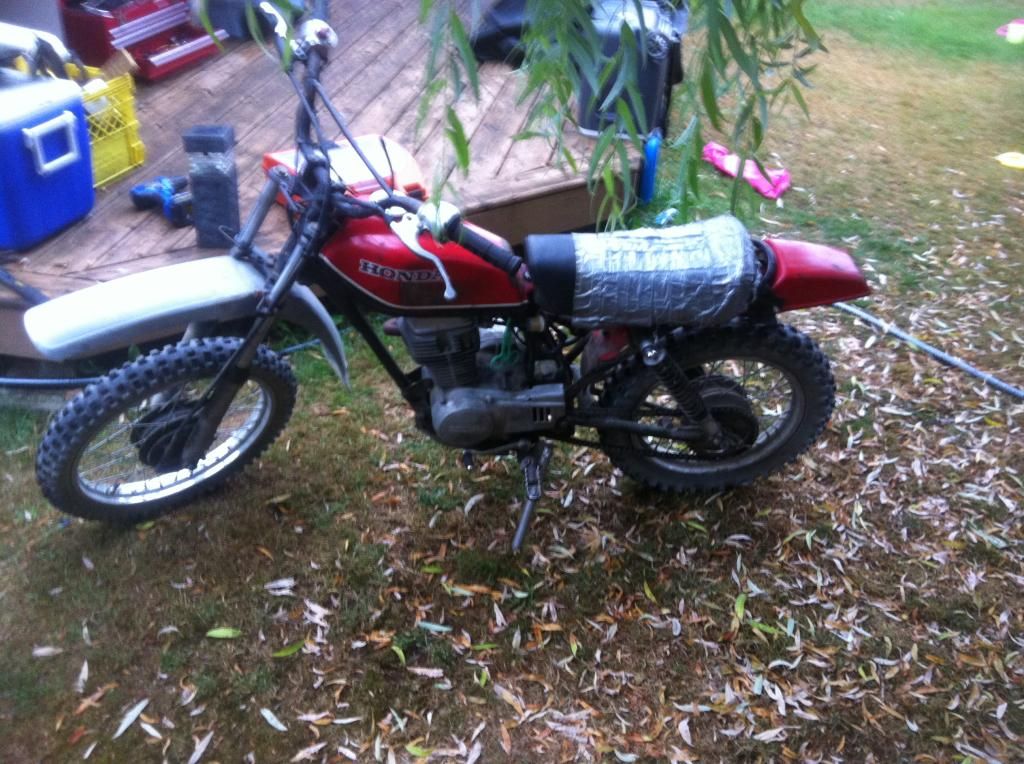 I'll try it for a bit as is. But guessing it will go back to the drawing board lol This took all of an hour so wasn't expecting perfection That's all for now Dave |
|
|
|
|

|
 |
| Thread Tools | Search this Thread |
| Display Modes | |
|
|


 Linear Mode

