 05-25-2009, 09:46 PM
|
#16 |
|
Join Date: Apr 2009
Posts: 330
|
Helle Turbo T,
Is it possible you guide me on how to assemble the following on my Giovanni 110cc mini beast: 1) How do you install the muffler 2) How do you install front drum brakes. My atv came with it for free when I did not even order it. 3)Did your atv come missing with tons of nuts and bolts? |

|
|
05-26-2009, 03:23 AM
|
#17 |
|
Join Date: Sep 2008
Location: Surrey, B.C., Canada
Posts: 2,185
|
Hi,
The muffler's were a bit of a bitch for me. You have to put them on before you install the rear shock.(Learned that the hard way) You just slide the tubes into each other, and use the hose clamps to squeeze them together. (two spots) One piece goes on the pipe already attached to the exhaust of the motor, the other attaches to it behind the shock. I'd put the clamp close to the end of the pipe as I put mine in the middle and it tends to leak there. Once you get the pipes in, you need to bolt the flange on the muffler to the bike where the reflectors are. You will see a long slot there. Take the reflector off and use that bolt/nut. I wouldn't tighten the clamps until you have the flanges lined up and everything in the right spot. I had to bend the flange on the muffler on the left side because it did not line up properly. (did this with the bolt and nut and was worried doing it but it worked out) I was missing some nuts and bolts, mainly for the fenders that attach to the foot pegs. I wouldn't say it was a 'ton' One side is only held on by two fasteners where there should be four I think. Other than that I had enough bolts to do me. I did not have a front brake so I can't help you with that. Perhaps Turnburn has installed some of those. |
|
|
|
05-26-2009, 04:21 PM
|
#19 |
|
Join Date: Apr 2009
Posts: 330
|
Here are some pics on my 110cc mini beast. I did not finish assembling it but just need some minor help.
  How do you put the back bushing back into the axle. 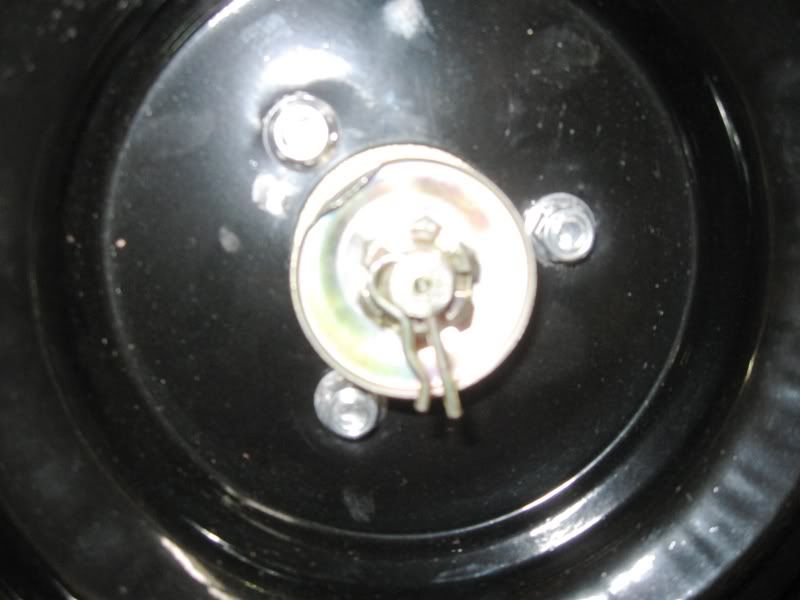 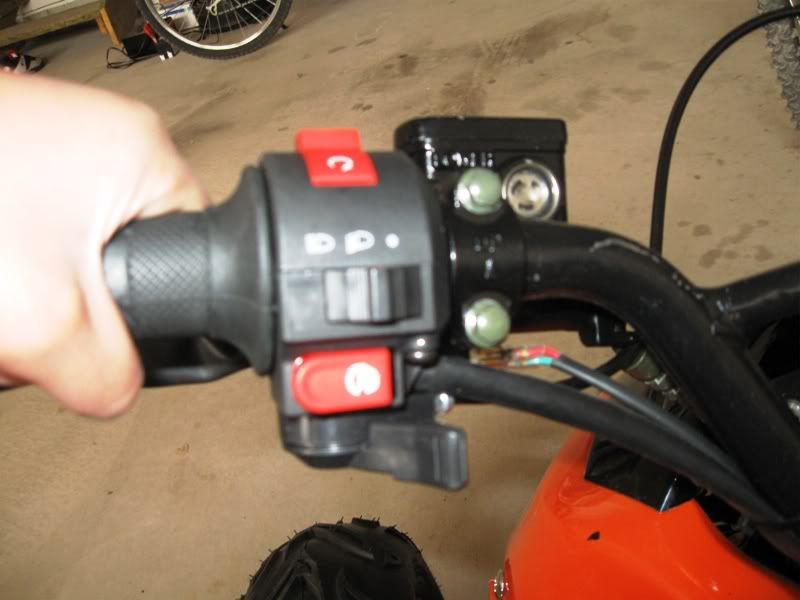 My atv came with a choke switch with means I can turn it off or on from my handlebar. |
|
|
|
05-26-2009, 04:41 PM
|
#20 |
|
Join Date: Sep 2008
Location: Surrey, B.C., Canada
Posts: 2,185
|
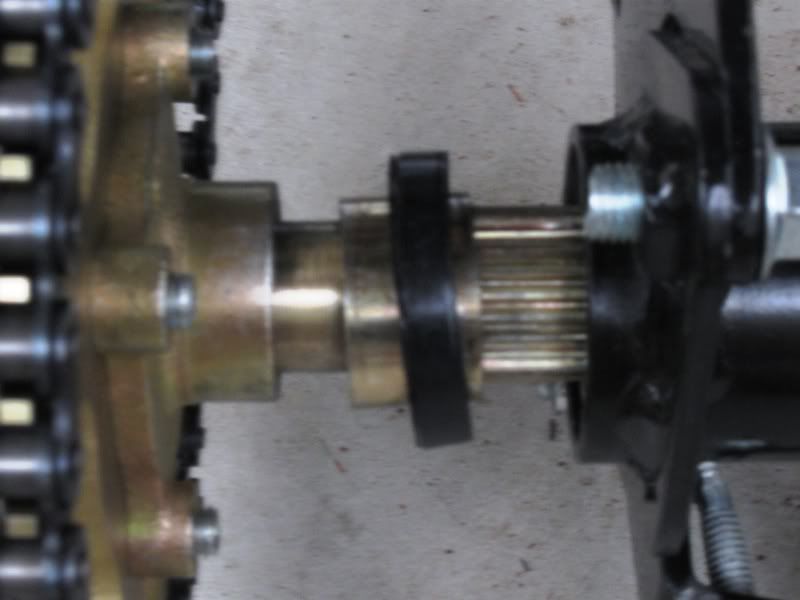
Yozalo that looks weird... did you pull that seal and bushing out or did it come like that?
Also, your pin looks like it could come out installed that way on your tire, or is that just a mock up shot? I will try to take some pics of the exhaust on mine a little later. |
|
|
|
05-26-2009, 05:24 PM
|
#21 |
|
Join Date: Apr 2009
Posts: 330
|
I did not pull the seal or bushing out. It came like that.
I bought upgraded pins at home depot as the ones that came with the atv were very poor quality. I greatly appreciate your help turbo t. Please post pics soon. Also, how do you put the seal and bushing back in. |
|
|
|
05-26-2009, 06:24 PM
|
#22 |
|
Join Date: Sep 2008
Location: Surrey, B.C., Canada
Posts: 2,185
|
As for the pins: I still think those will fall out, although I don't know how tight they are. I feel like they should be in the slots of the nut and bent back. Mine did not fit into the nut as it sank too far in which bothers me.
The bushing and seal is strange. Mine did not come like that is was pushed in and installed. I am trying to think of a way you could push it back in without taking the chain assembly off since you want it to go in straight and not tip one way or the other...also, from looking at the picture it looks like even if you did install it some spline will still be exposed, I see no spline on mine in that location. I think someone else here should see that and perhaps has some opinions, otherwise I would be showing that shot to John at Gio to see what he thinks if you got a bad factory one there. |
|
|
|
05-26-2009, 06:54 PM
|
#24 |
|
Join Date: Sep 2008
Location: Surrey, B.C., Canada
Posts: 2,185
|
If you had to hammer in the pins it's probably okay, and I wouldn't recommend bending them then. JUst don't want your wheel to fall off!
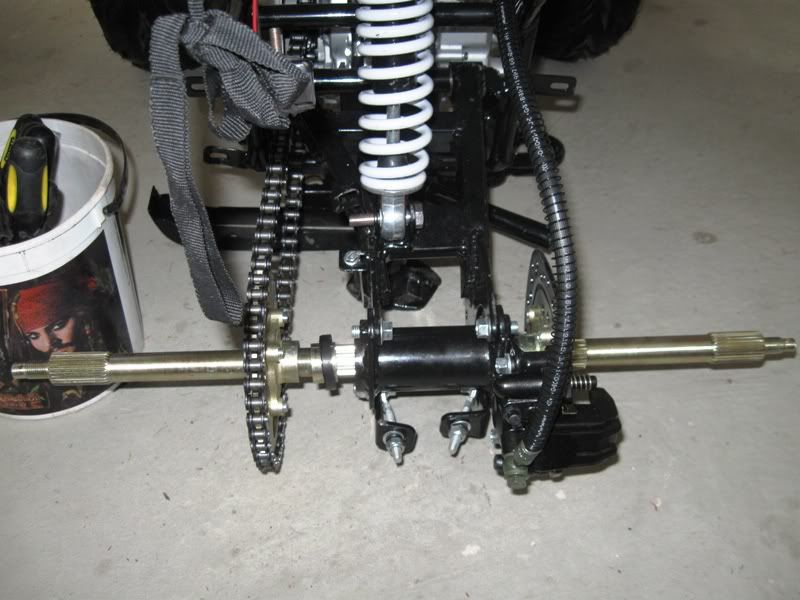
Here are some photos of my exhaust install.      Here is a shot of my rear axel.  Here is a shot of my front wheel nut like I think it should be with the pin in the nut slot.  ..and the back where I think there is too much gap.  Hopefully the exhaust pics help you and perhaps someone is here who can help with that axel bushing issue. |
|
|
|
05-26-2009, 08:58 PM
|
#27 |
|
Join Date: Sep 2008
Location: Surrey, B.C., Canada
Posts: 2,185
|
Mate I would just send him a nice email, showing him those two pictures. Let him know it came out of the box this way and you're not sure how you would go about re-assembling that and if he has any suggestions. Mine came with the seal and bushing installed and it could be there is a problem re housing size or something there.. I would also let him know you're not sure what tool to use to try to re-install and that seal my be garbage now. (One time installs)
He is pretty good and answers normally within 24 hours. |
|
|
|
05-27-2009, 03:50 PM
|
#28 |
|
Join Date: Apr 2009
Posts: 330
|
I emailed John and I think he does not know what to do. I emailed him about other questions and received a response the same day. I told him about the problem yesterday but he has yet to respond. He has responded to all my questions except for this problem. I don't think he knows since it says that we are not mechanics and only to email him if you need replacement parts.
|
|
|
|
|

|
 |
|
|


 Linear Mode

